Getting started
Install
- Download VisionMixer.dmg from visionmixer.app, open it, and drag VisionMixer to Applications.
- On first launch your 14-day trial starts automatically — every feature unlocked, no account or card. The title bar shows the days remaining.
- VisionMixer will offer to install its components. Say yes to both:
- Camera extension — click Install / Update Extension, then approve it in System Settings → Privacy & Security. This is the virtual camera other apps see.
- Audio devices — one admin password installs three virtual devices: VisionMixer Mic (your mix, into calls), VisionMixer Speaker (call audio, back into the mixer) and VisionMixer System (the Mac's own audio, as a fader). Audio restarts briefly.
- Grant permissions when macOS asks: Camera, Microphone, and Screen Recording (needed for display/window capture and system audio). A banner inside the app tracks anything still missing.
Your first scene
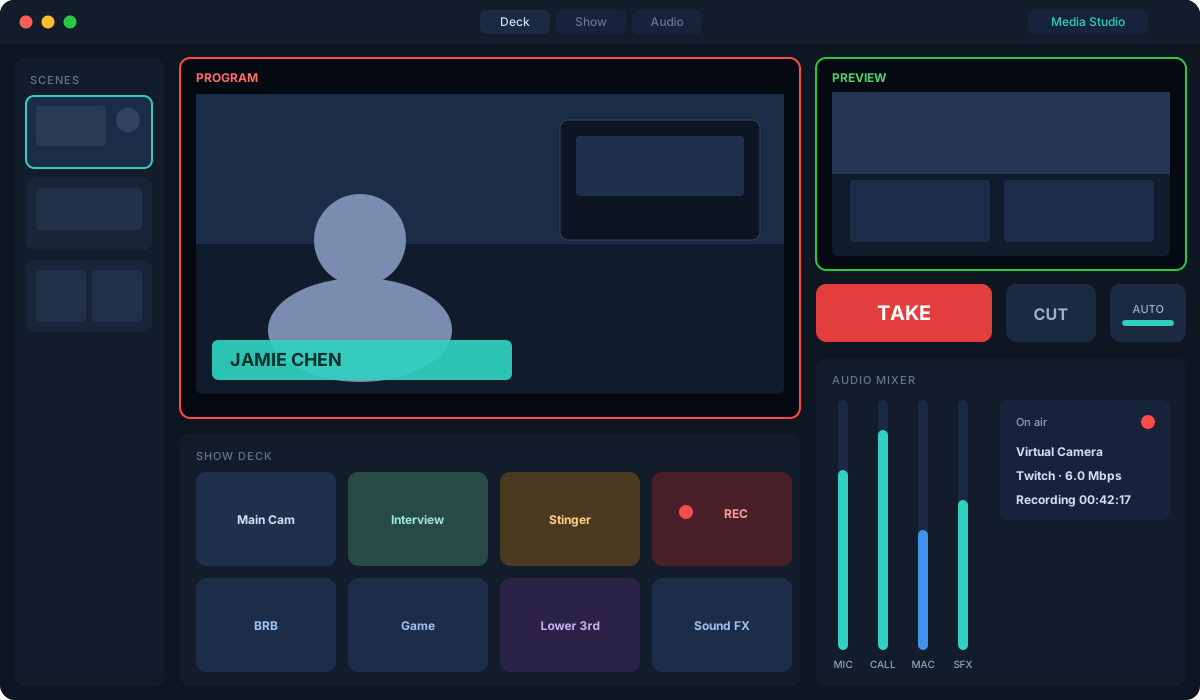
- On the Show tab you'll see your cameras and capture devices as live thumbnails. Click one to put it on the canvas, or use the + menu in the Layers panel to add displays, windows, clips, images, browsers, shapes, text, 3D text, NDI or RTSP sources.
- Drag layers on the canvas to move them; use the handles to resize. The inspector on the right holds everything else — crop, corners, borders, keying, filters.
- Save the arrangement as a scene with the camera button in the Scenes drawer. Scenes show live thumbnails and load with a click.
Go live somewhere
- A meeting: pick VisionMixer Camera as your camera in Teams, Zoom or Meet. See Using VisionMixer in meetings for the full audio setup.
- A stream: add a destination under the Stream button and go live. See Streaming, recording and outputs.
Press TAKE and you're broadcasting.